Installation
There are two ways to install Ziva in your Godot project: automatic installation using our installer script, or manual installation like any other Godot plugin.
Automatic Installation (Recommended)
The automatic installer is a script that will guide you through the installation process and let you select which Godot project you want to install Ziva into.
Linux / macOS
Open your terminal and run:
curl -fsSL https://ziva.sh/install.sh | bashWindows
Open PowerShell and run:
irm https://ziva.sh/install.ps1 | iexThe installer will:
- Download the latest version of Ziva
- Let you select which Godot project to install into
- Automatically set up the plugin in your project
Manual Installation
Alternatively, you can download and install Ziva manually like any other Godot plugin.
Step 1: Download the Plugin
Download the zip of the latest plugin version from the download page or from GitHub releases .
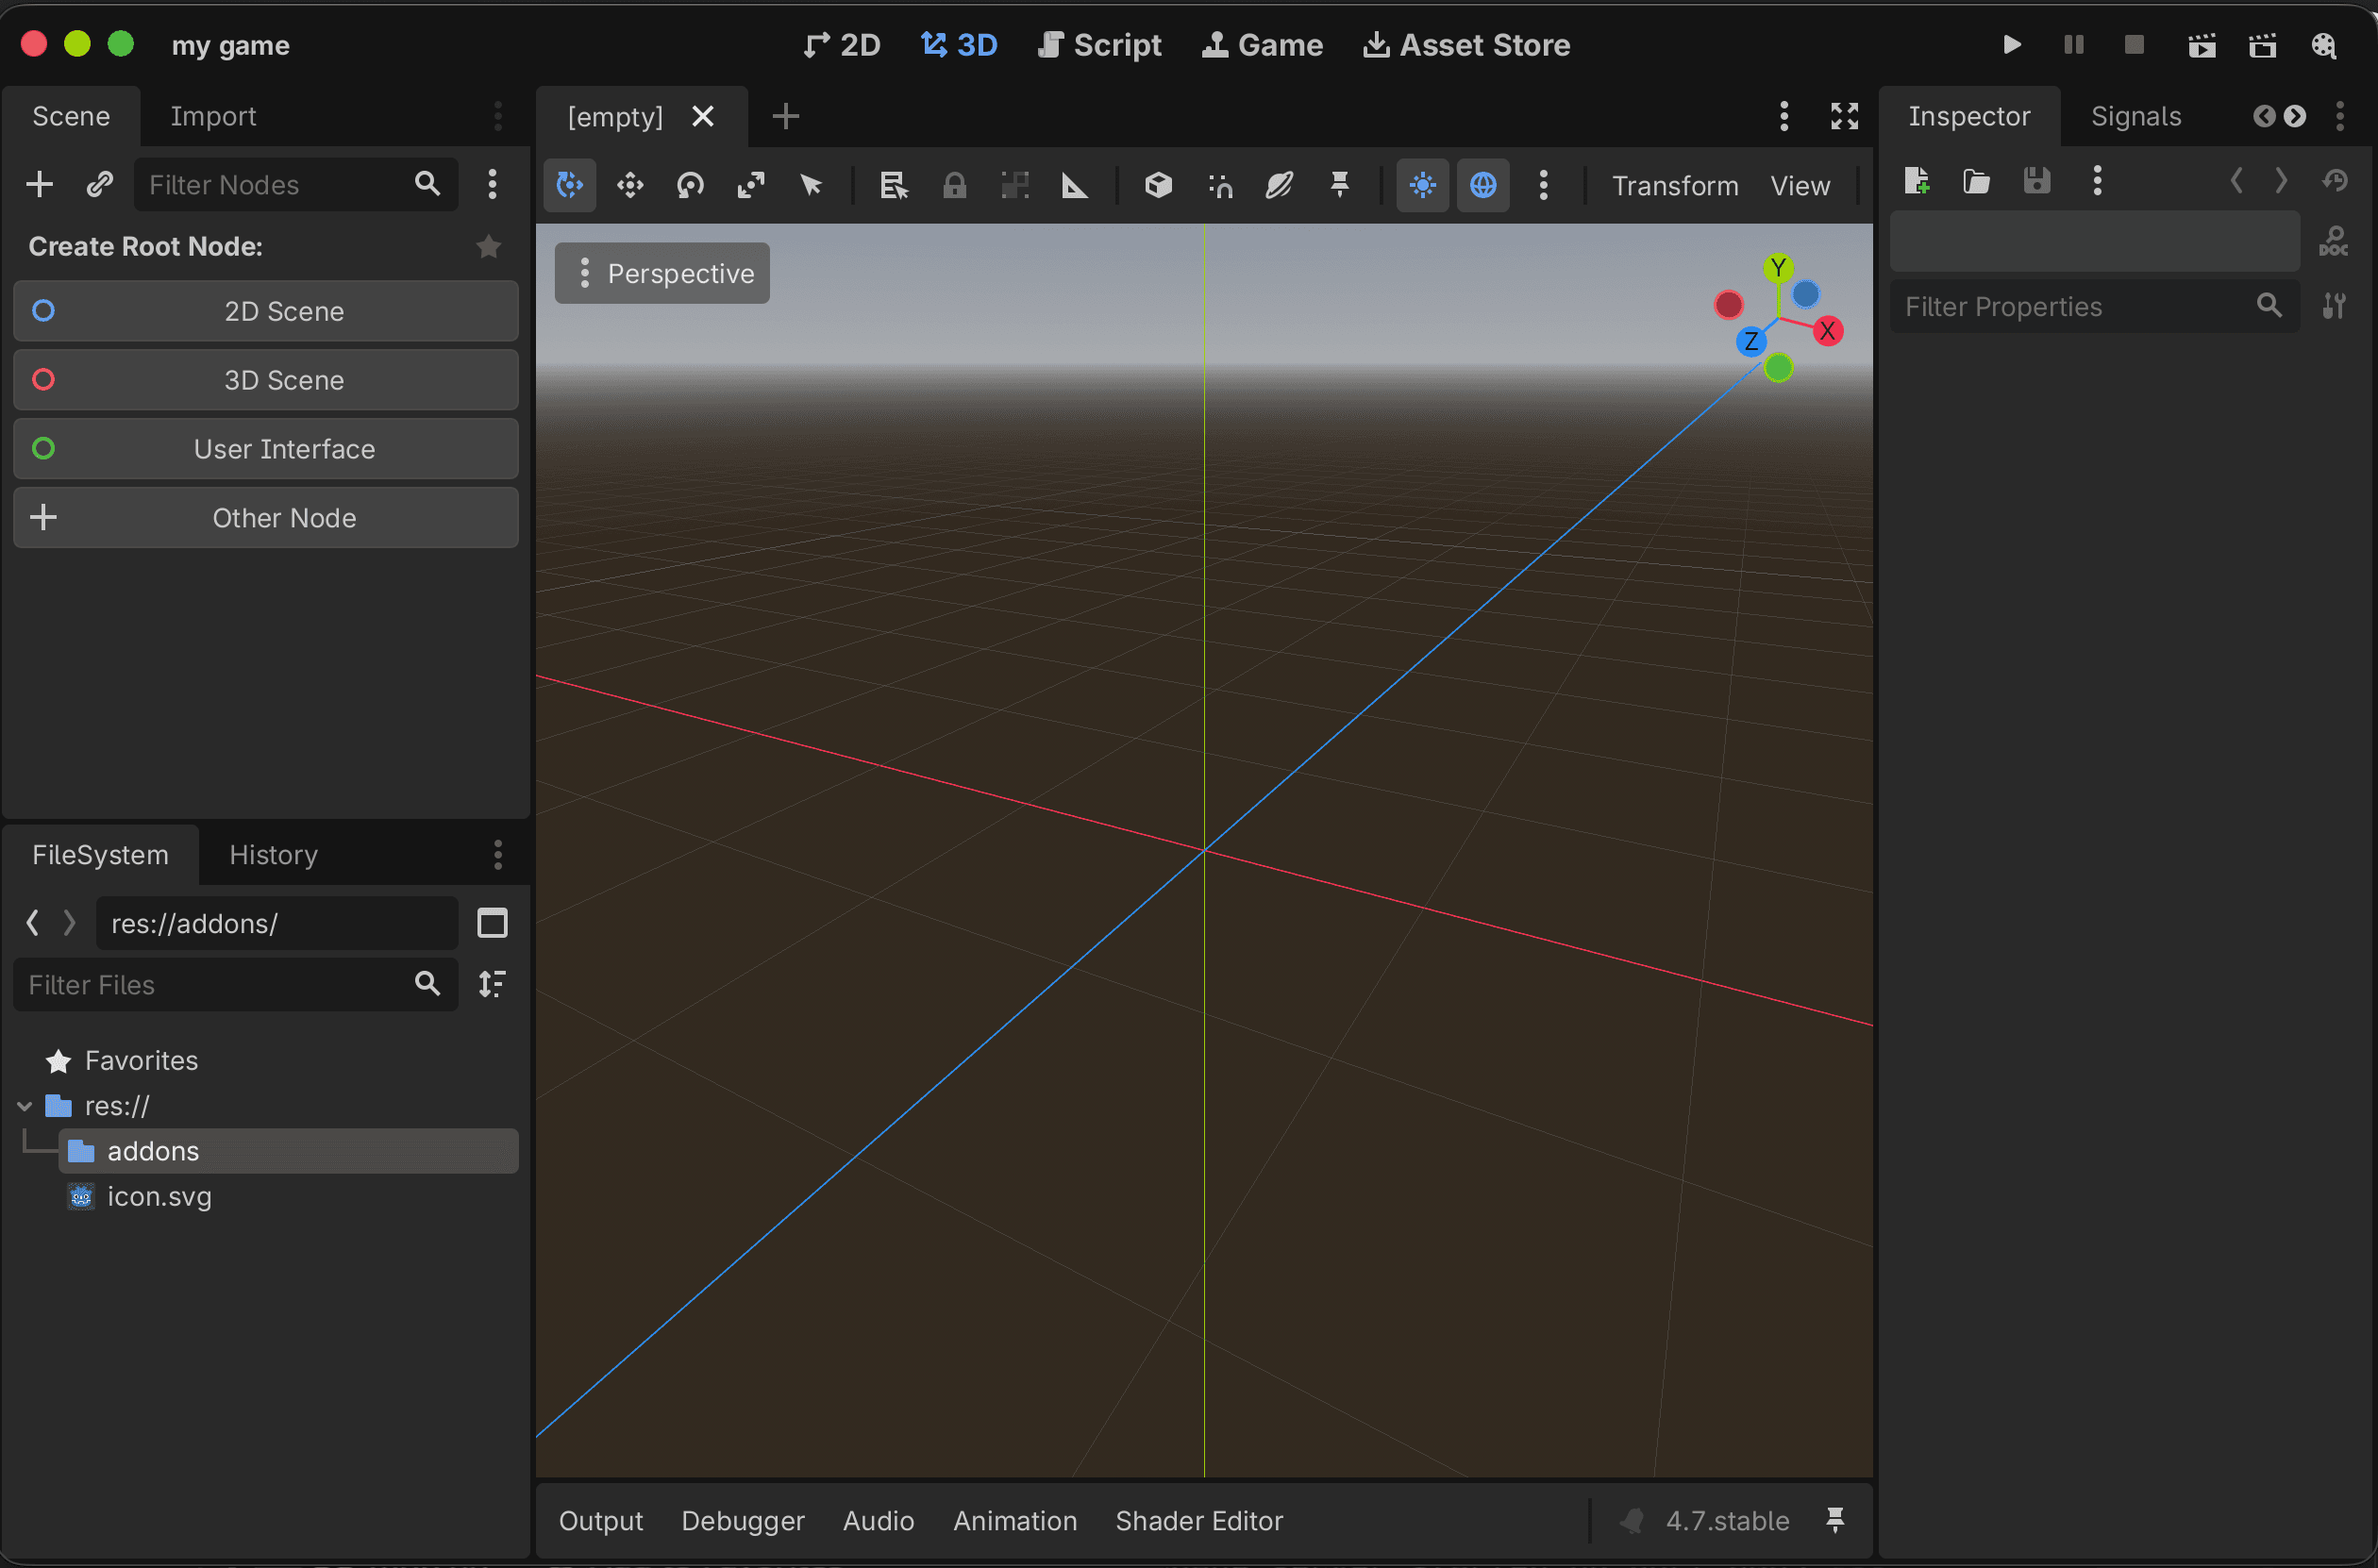
Step 2: Open Godot
Open your project in Godot and create an addons folder. If you don’t already have one.
Step 3: Extract and Copy the plugin
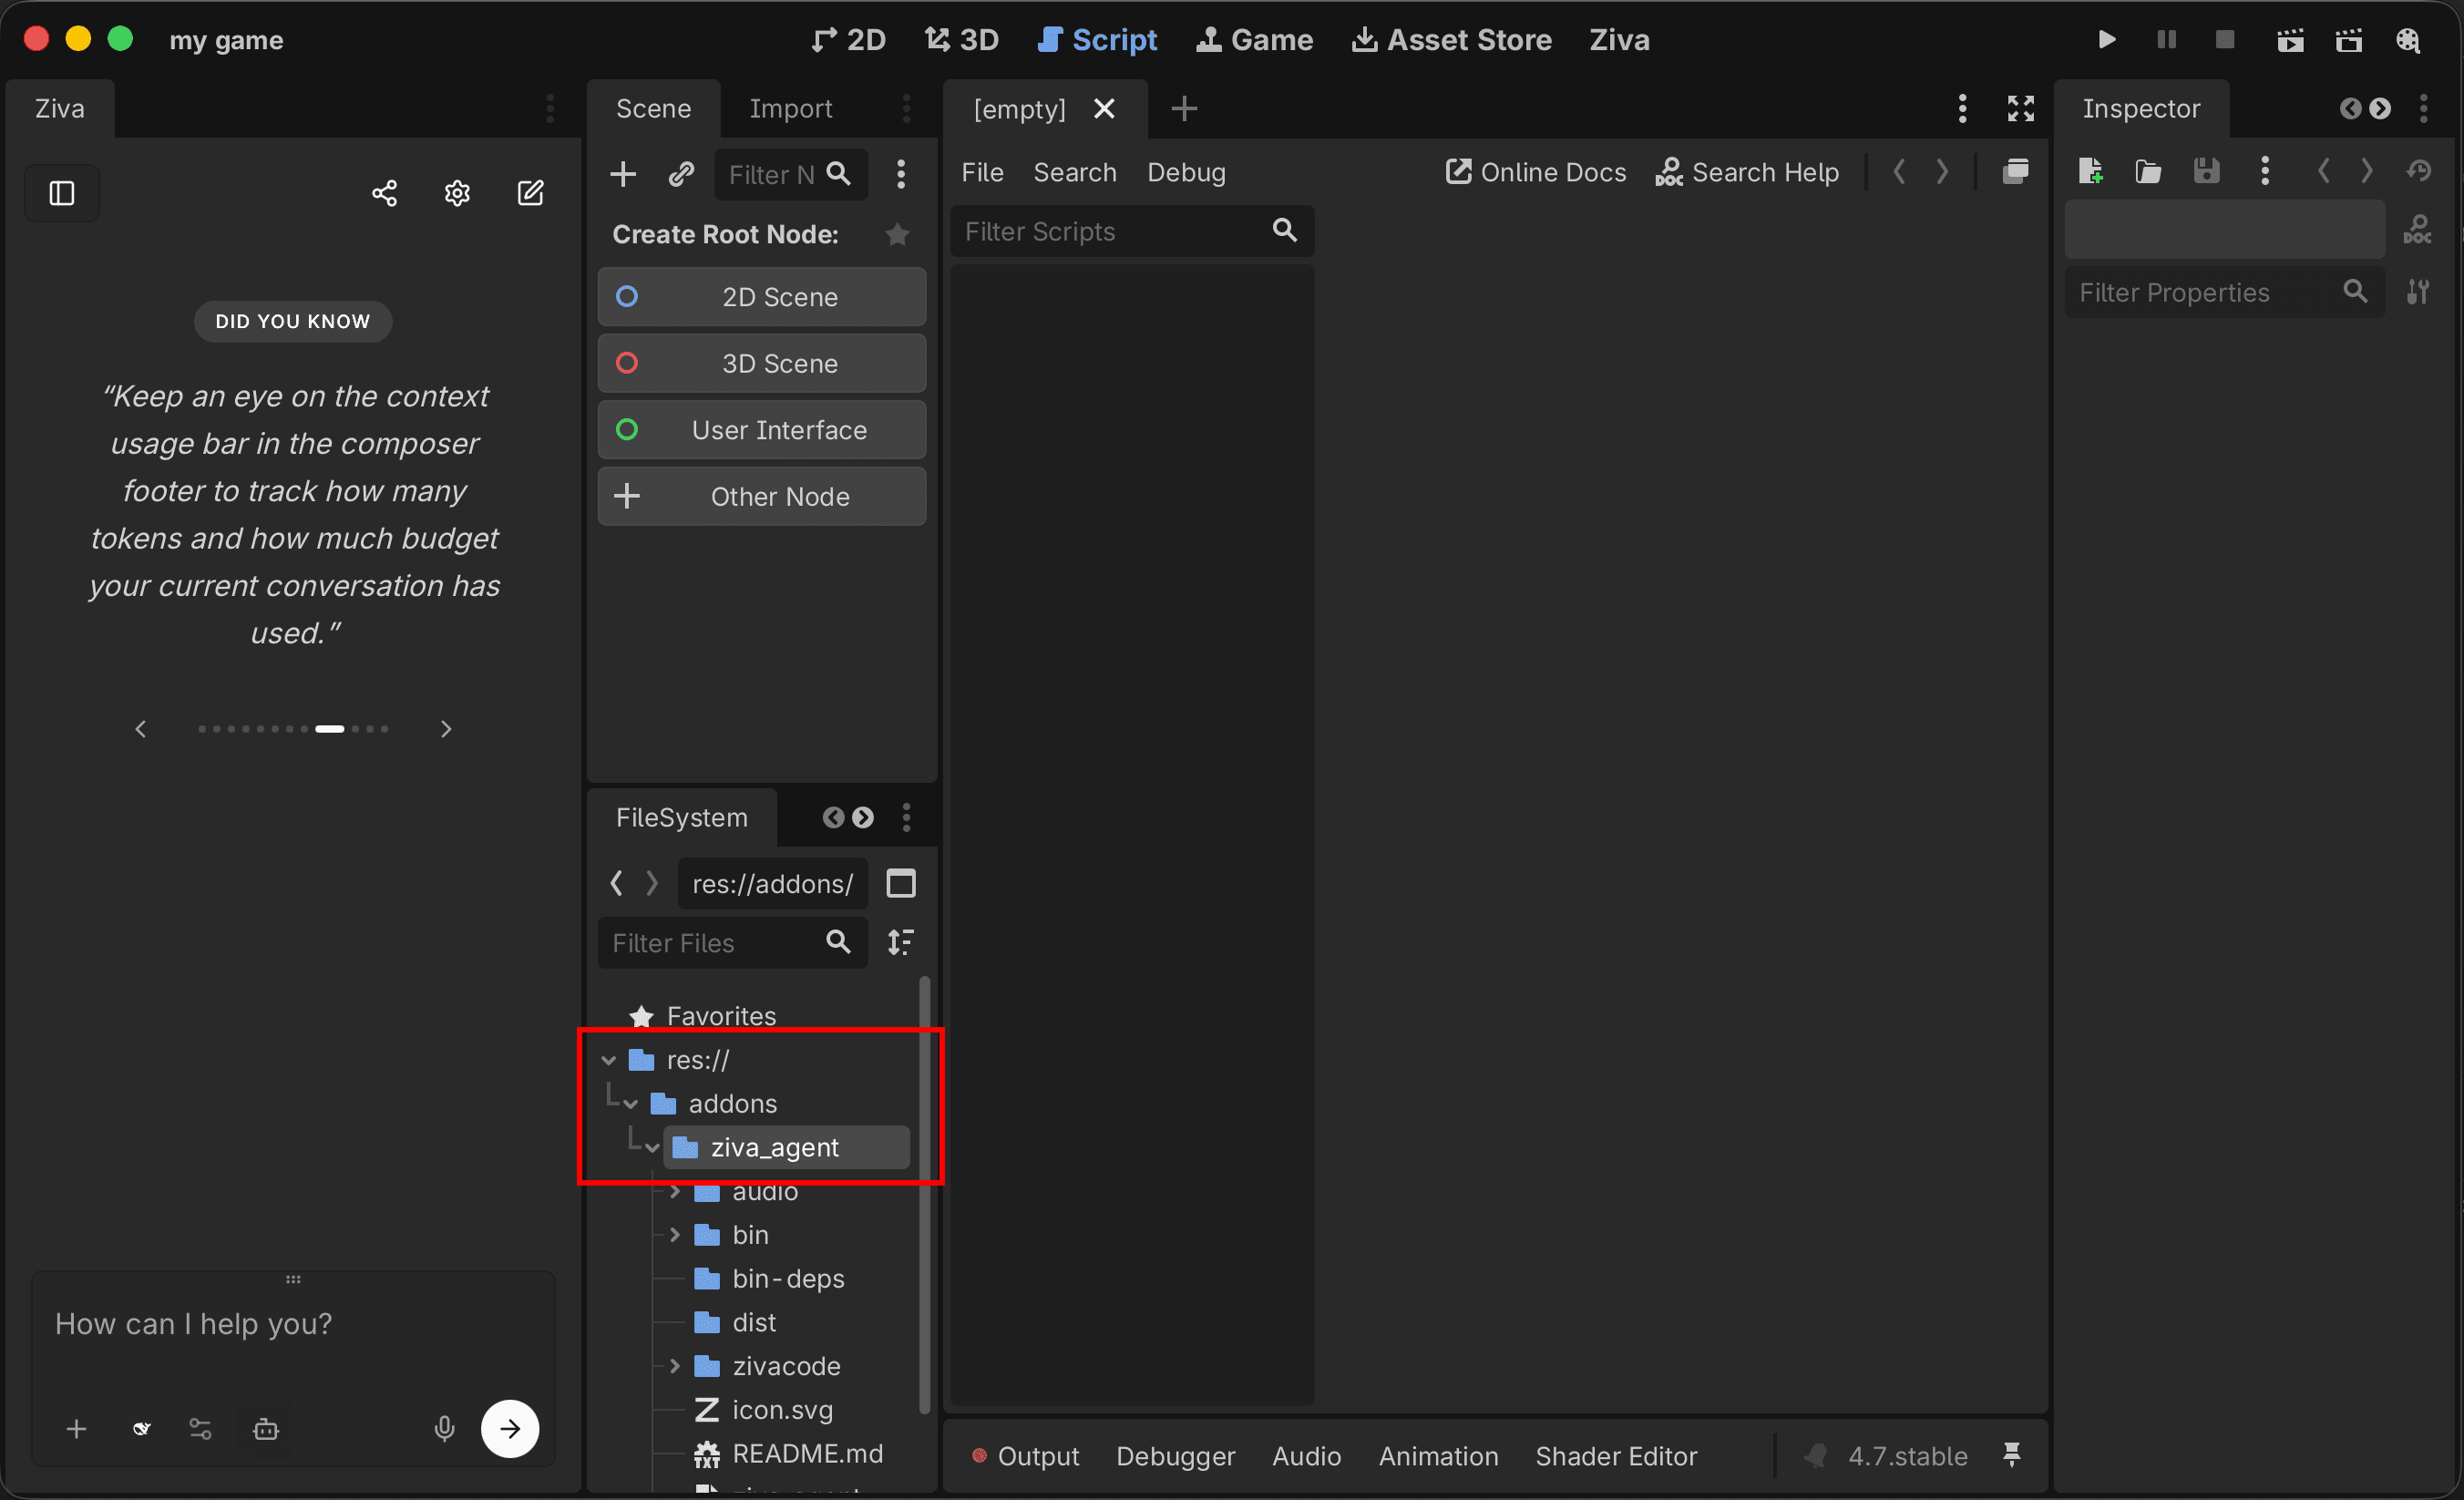
Extract the downloaded zip file, and copy the addons/ziva_agent folder to your project’s addons folder.
In the end, you should see addons/ziva_agent in the Godot FileSystem.
Step 4: Restart Godot
Restart Godot completely to ensure the plugin loads properly.
Troubleshooting
If you don’t see the Ziva panel after following these steps:
- Try restarting Godot completely - Sometimes plugins need a full restart to load
- Check the Godot console for any error messages - Look in the Output tab for any red error messages
- Verify the folder structure - Make sure you have
addons/ziva_agent/ziva_agent.gdextensionin your project - Check your Godot version - Ziva requires Godot 4.2 or later
Still having issues?
- Join our Discord for community support and help from other users
- Post an issue on GitHub if you’ve found a bug or need technical assistance
System Requirements
- Godot Version: 4.2 or later
- Operating Systems: Windows, macOS, or Linux
- Internet Connection: Required for AI features
Next Steps
Once installed, you’re ready to start using Ziva!
Sign Up and Start Free
When you create your Ziva account, you’ll start on the free Hobby tier with access to all features. This gives you a great opportunity to try AI-powered game development before upgrading to a paid plan.
Visit ziva.sh to sign up and start building!
For more information, check out the documentation to learn how to use the AI agent in your projects.